Step-by-Step Professional Installation
STEP 1: Cable Preparation
Strip the outer sheath of the cable according to the required entry length. If you are using armored cable (SWA), remove 2–3 cm of the outer sheath carefully using wire strippers. Ensure the inner conductor insulation remains completely intact and the armor wires are not notched or damaged.
STEP 2: Disassemble the Gland
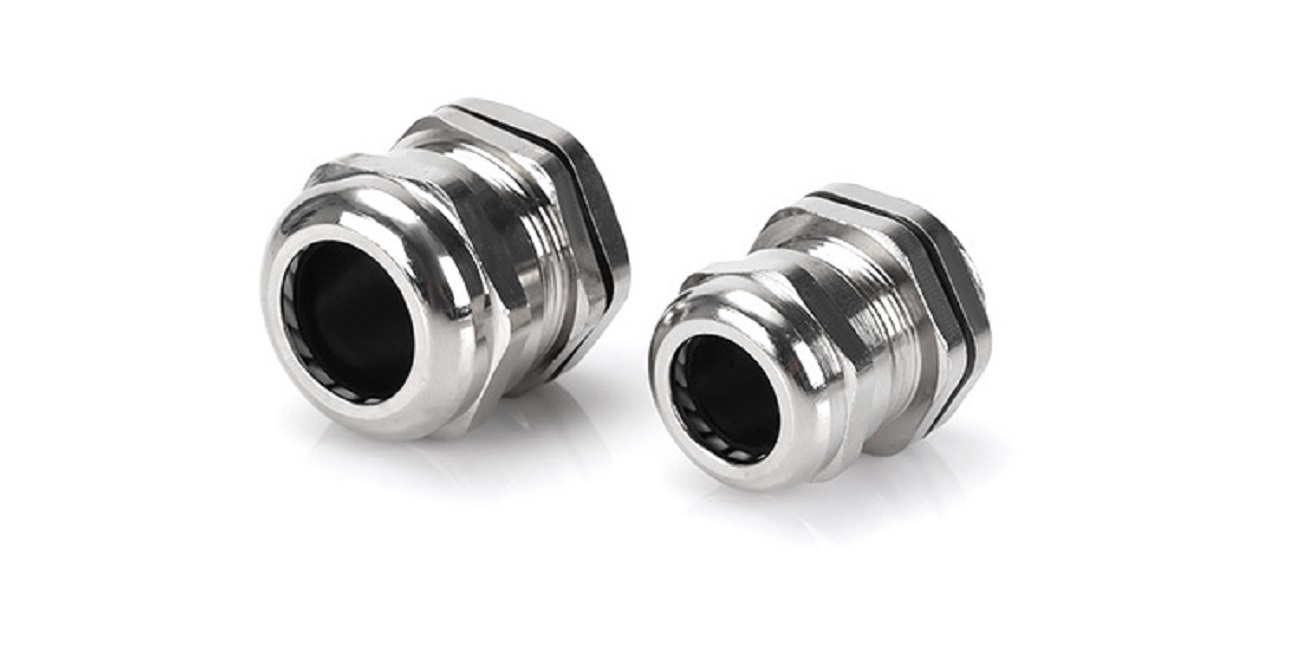
Lay out the components to ensure all seals are present. A standard gland consists of the Locknut, Gland Body, Internal Sealing Insert (Grommet), and the Compression Nut.
STEP 3: Threading Components
Slide the components onto the cable in the following specific order:
Compression Nut (facing the enclosure)
Sealing Insert / Claw
Gland Body (Note: Sequence may vary by specialized model; always refer to the manufacturer’s technical drawing).
STEP 4: Mounting to the Enclosure
Drill a hole in the panel or junction box that matches the specific thread size (e.g., M20, PG21, or NPT 1/2″). Insert the gland body through the hole from the exterior. From the inside of the enclosure, thread the Locknut onto the body and tighten with a wrench until secure.
STEP 5: Securing and Sealing
Feed the prepared cable through the mounted gland body. Hand-tighten the Compression Nut first to ensure the threads are aligned. Then, use a calibrated wrench to tighten the nut until significant resistance is felt.
Critical Note: Do not over-torque. Over-tightening can deform the NBR/EPDM seal, compromising the IP68 rating and potentially crushing the cable conductors.
STEP 6: Final Verification
Strain Relief: Pull the cable gently; it should not move or slide within the gland.
Seal Integrity: Visually inspect the sealing washer to ensure it has compressed uniformly around the cable jacket.
Conductivity: For armored cables, verify that the earth tag or internal clamping ring is in full contact with the armor for proper grounding.
| Mistake | Consequence |
| Incorrect Sizing | A gland too large will fail the IP68 test; a gland too small will damage the cable. |
| Over-tightening | Results in “cold flow” of the cable jacket and permanent seal failure. |
| Omitting the O-Ring | Leads to water ingress between the gland body and the enclosure wall. |
| Poor Deburring | Sharp edges on the enclosure hole can cut the gland threads or seals. |
Technical FAQ
Q: Can I reuse a cable gland after it has been installed? A: It is highly discouraged. Once the internal EPDM/NBR seals are compressed, they take a permanent “set.” Reusing them often results in a failure to meet the original IP68/10-Bar specifications.
Q: What is the difference between NBR and EPDM seals in installation? A: NBR is excellent for oil and fuel resistance in factory settings. EPDM is preferred for outdoor installations due to its superior resistance to UV, ozone, and extreme weather aging.
Q: How do I choose between Metric and PG threads for my panel? A: Metric (M) is the modern global standard (EN 60423). PG is a German standard (DIN 40430) often found in older European machinery or specific sensor applications. Always match the thread type to the existing tapped hole of your enclosure.