In this comprehensive guide, we’ll walk you through the entire process of fitting a cable gland, from choosing the right type to final checks. We’ll also cover common mistakes to avoid and key tips for a secure, long-lasting installation. Let’s get started!
The following steps apply to most standard cable glands (unarmored or armored). We’ll note differences for specialized glands (e.g., waterproof or armored) where relevant.
STEP 1: PREPARE THE CABLE
- If using an armored cable, use wire strippers to carefully remove the outer sheath (about 2–3 cm from the end). Be gentle—avoid damaging the inner conductors or the armor shielding.
- For unarmored cables, skip the sheath removal unless the gland requires a section of the inner insulation to be exposed (check the gland instructions).
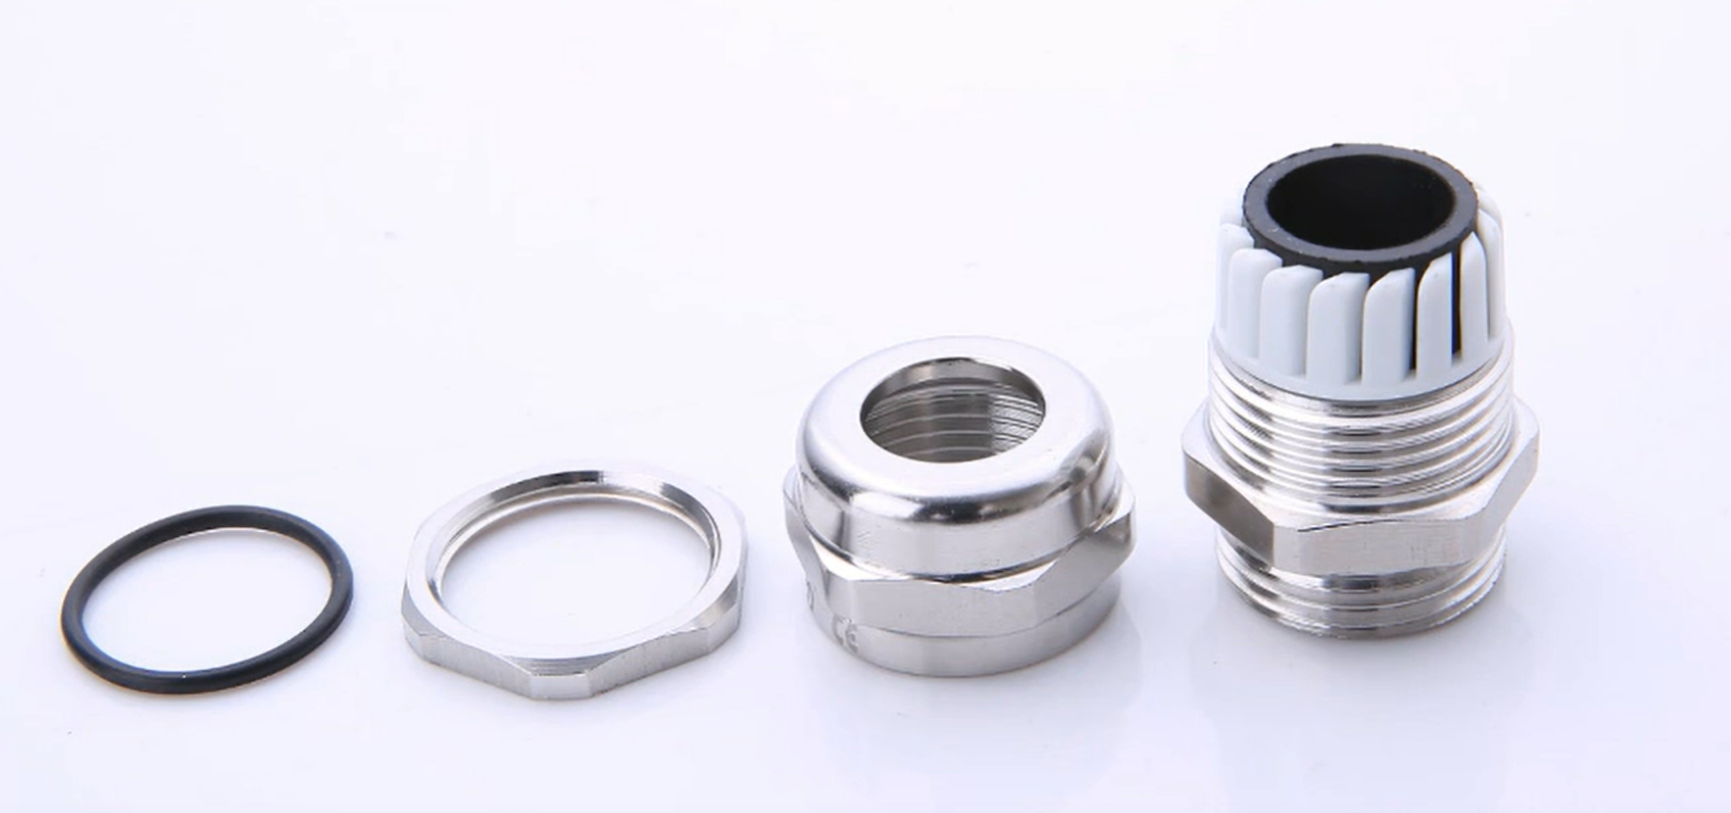
STEP 2: DISASSEMBLE THE CABLE GLAND
Most cable glands consist of several components: a body, a compression nut, a sealing washer (or grommet), a locknut (for mounting), and (for armored glands) an armor clamp and earth tag.
Disassemble the gland by unscrewing the compression nut and removing the sealing washer. For armored glands, also remove the armor clamp and earth tag.
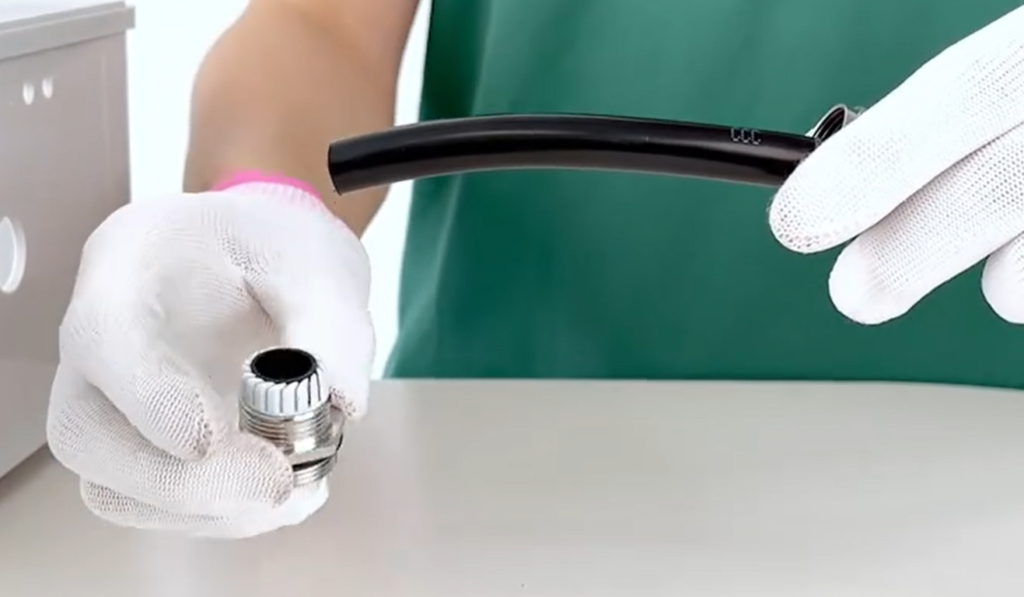
STEP 3: THREAD THE CABLE THROUGH THE GLAND COMPONENTS
Thread the cable through the gland components in the correct order (this varies by gland type, but the general sequence is):
- Locknut (if the gland is mounted to a panel or enclosure)
- Gland body
- Compression nut
- Sealing washer/grommet
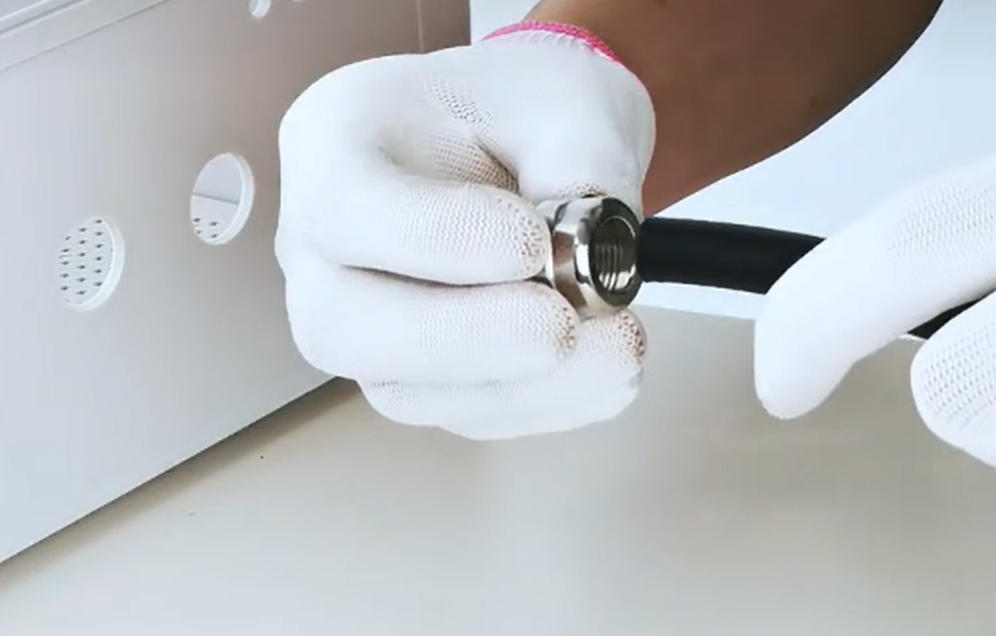
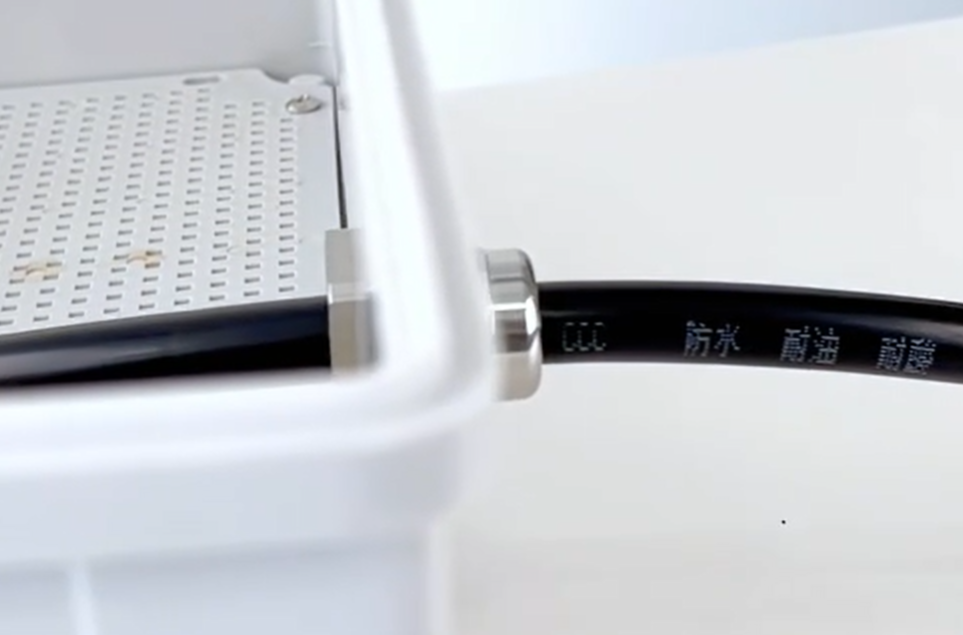
STEP 4: MOUNT THE GLAND (IF REQUIRED)
If the gland is being mounted to a panel, enclosure, or junction box:
- Drill a hole in the panel/enclosure that matches the gland’s thread size (e.g., M20 for a PG21 gland).
- Thread the locknut onto the gland body from the inside of the panel.
- Screw the gland body into the hole from the outside, then tighten the locknut with a wrench to secure the gland in place. Ensure it’s snug but not over-tightened (over-tightening can damage the panel or gland).
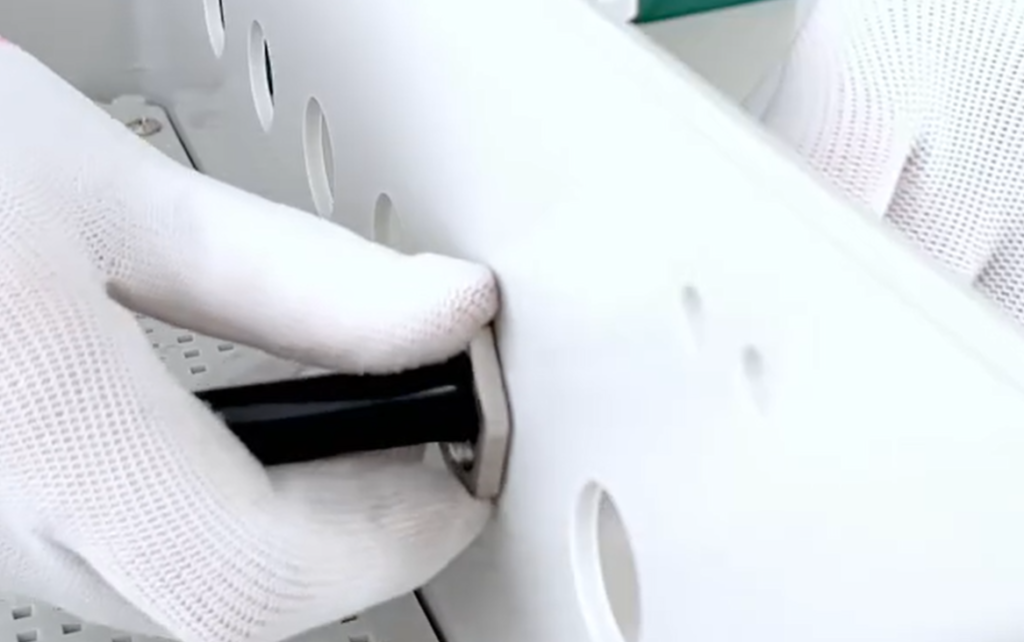
STEP 5: SECURE THE CABLE IN THE GLAND
- Slide the sealing washer/grommet over the cable so it sits against the gland body.
- Screw the compression nut back onto the gland body. Hand-tighten first to ensure alignment.
- Use an adjustable wrench to tighten the compression nut further. Stop when you feel resistance—over-tightening can crush the cable or damage the sealing washer (for waterproof glands, this will break the water seal).
- For armored cables: Wrap the armor shielding around the armor clamp, then secure the clamp to the gland body with a screwdriver. Attach the earth tag to the clamp (this grounds the armor, preventing electric shocks from damaged cables).
STEP 6: FINAL CHECKS
After fitting the gland, perform these checks to ensure a safe, secure installation:
- Strain Relief: Pull gently on the cable to ensure it doesn’t move within the gland—if it slides, the compression nut needs to be tightened slightly (but not over-tightened).
- Seal Integrity: For waterproof glands, inspect the sealing washer to ensure it’s properly seated and not damaged. You can test it by spraying water (gently) on the gland—no water should enter the enclosure.
- Conductor Protection: Check that the inner conductors are not pinched or damaged by the gland components.
- Grounding (Armored Cables): Ensure the earth tag is securely attached and connected to the grounding system.
COMMON MISTAKES TO AVOID WHEN FITTING A CABLE GLAND
Even experienced electricians can make mistakes when fitting cable glands. Here are the most common ones to watch out for:
- Using the Wrong Size Gland: A gland that’s too small will crush the cable; one that’s too large won’t provide a secure seal. Always match the gland to the cable’s outer diameter.
- Over-Tightening the Compression Nut: This is the biggest mistake! Over-tightening damages the cable, breaks the sealing washer, and ruins the gland’s ability to protect against water or dust.
- Incorrect Component Order: Installing components in the wrong sequence will prevent a secure fit—always refer to the manufacturer’s instructions.
- Ignoring the Environment: Using a non-waterproof gland outdoors will lead to water ingress and equipment failure. Always choose a gland rated for the environment.
- Not Grounding Armored Cables: Failing to ground the armor of an armored cable creates a safety hazard—if the cable is damaged, the armor can become live.
FAQS ABOUT FITTING CABLE GLANDS
Q: CAN I REUSE A CABLE GLAND?
A: It’s not recommended. Reusing a gland (especially the sealing washer) can compromise the seal and reduce protection. Always use new components for a secure installation.
Q: HOW TIGHT SHOULD A CABLE GLAND BE?
A: Hand-tighten first, then use a wrench to tighten slightly until you feel resistance. Over-tightening is the main cause of gland failure—stop when the cable doesn’t move when pulled.
Q: DO I NEED A WATERPROOF CABLE GLAND FOR OUTDOOR USE?
A: Yes. Outdoor environments expose cables to rain, dust, and moisture—use a waterproof gland with an IP rating of IP65 or higher to prevent water ingress.
Q: HOW DO I KNOW IF MY CABLE GLAND IS THE RIGHT SIZE?
A: Measure the outer diameter (OD) of your cable, then check the manufacturer’s specifications to ensure the gland is compatible with that OD range. Most glands have size markings (e.g., PG21, M20) for easy identification.